Multi-Merchant Registration Guide

Overview
This guide explains how to use the sub-wallet features of TronLink / MetaMask to manage multiple merchant accounts with 4 mnemonic groups (3 multisig admin groups + 1 treasurer group), each corresponding to 4 master wallets, and complete the following tasks:
- Create sub-wallets for each merchant's multisig admins and treasurer address
- Register a new merchant and configure the multisig admin and treasurer wallets
- Obtain the API Key for integration by the development team
Keep 4 mnemonic groups (3 multisig admin groups + 1 treasurer group) securely separated. Each mnemonic group can derive and manage multiple addresses through different derivation paths (a master wallet plus multiple sub-wallets), and the 4 branches together can be used to register and manage multiple merchants.
Supplemental Note: What Is an HD Wallet?
An HD wallet (Hierarchical Deterministic Wallet) is a wallet model that derives addresses from a mnemonic phrase according to a fixed hierarchical rule.
- One mnemonic group can restore all accounts and addresses under that group.
- The same mnemonic group can continuously derive and manage multiple addresses, without generating a new mnemonic for each new address.
- A master wallet and its sub-wallets are essentially accounts on different derivation paths under the same mnemonic group.
- As long as the derivation path is the same, the same address can be restored on a different device.
In the context of this guide, it can be understood as follows:
- You maintain 4 mnemonic groups, corresponding to 4 master wallets (3 multisig admin wallets + 1 treasurer wallet).
- Each merchant derives 1 sub-wallet from each of these 4 master wallets.
- Since every address has a deterministic derivation source, multi-merchant management is clearer and permission separation is more explicit.
The ability for one mnemonic group to manage multiple addresses is the fundamental capability of an HD wallet. This guide builds on that capability and uses 4 mnemonic groups to isolate 4 derivation branches (3 multisig admin groups + 1 treasurer group), then generates the corresponding sub-wallets for different merchants from each branch.
1. Use Cases
If you need to repeat the merchant registration flow for multiple merchants while keeping mnemonic management simple, this approach is a better fit:
- Use 4 master wallets as the fixed base accounts (3 multisig admin master wallets + 1 treasurer master wallet)
- For each new merchant, derive 1 sub-wallet from each of the 4 master wallets
- Use 3 of the sub-wallets as that merchant's multisig admins, and 1 sub-wallet as the treasurer wallet
2. Wallet Structure and Prerequisites
Before registering a new merchant, confirm the wallet hierarchy and the required parameters.
Wallet Hierarchy
- First layer: 4 mnemonic groups (3 multisig admin groups + 1 treasurer group) Description: each mnemonic group is kept separately and corresponds to 1 master wallet
- Second layer: 3 multisig admin master wallets + 1 treasurer master wallet Description: each is derived from its own mnemonic group and can be used on both TRON and EVM chains
- Third layer: sub-wallets Description: each master wallet derives 1 sub-wallet; 3 sub-wallets serve as multisig admins and 1 sub-wallet serves as the treasurer wallet
Process diagram:
What to Prepare Before Registration
- Multisig admin master wallets: 3, each derived from one multisig admin mnemonic group
- Treasurer master wallet: 1, derived from the treasurer mnemonic group
- Sub-wallets per merchant: 4, one from each of the 4 master wallets above
- Registration code: obtain from the business team
- Supported chains: the flow is the same for TRON and EVM chains
- The admin wallets and treasurer wallet carry important permissions, so the mnemonics and private keys must be protected carefully.
- Never leak or share mnemonics or private keys with anyone else.
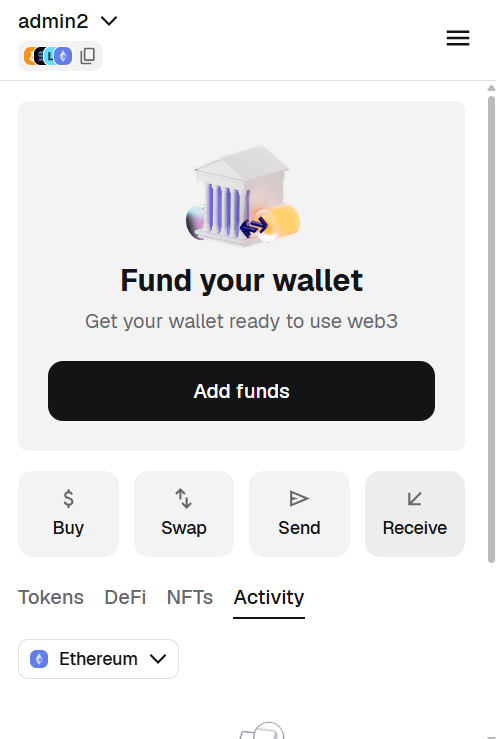
3. Create the Admin and Treasurer Sub-Wallet Addresses
Option 1: Create Sub-Wallets with TronLink (TRON)
Reference: TronLink Wallet Setup Tutorial
The basic flow is as follows:
-
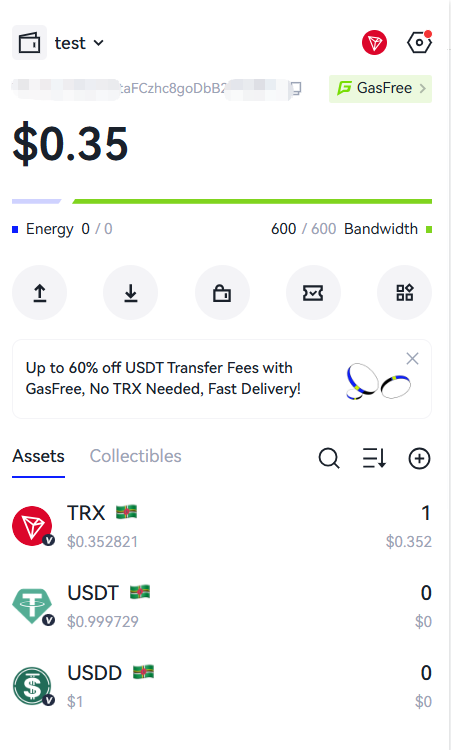
Switch to multisig admin master wallet 1 and confirm that the current account is master wallet 1.
-
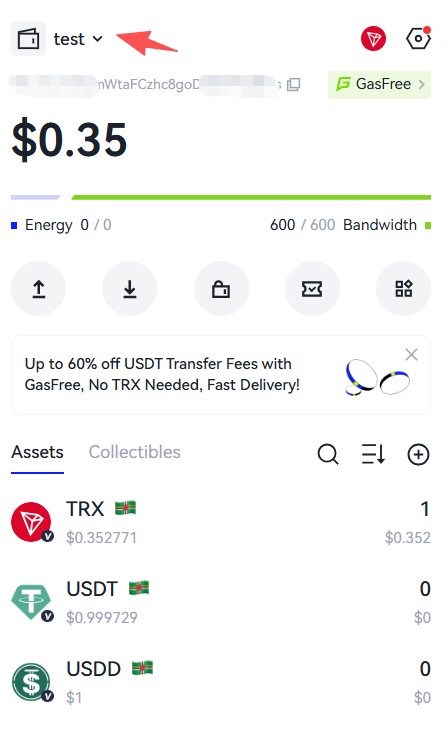
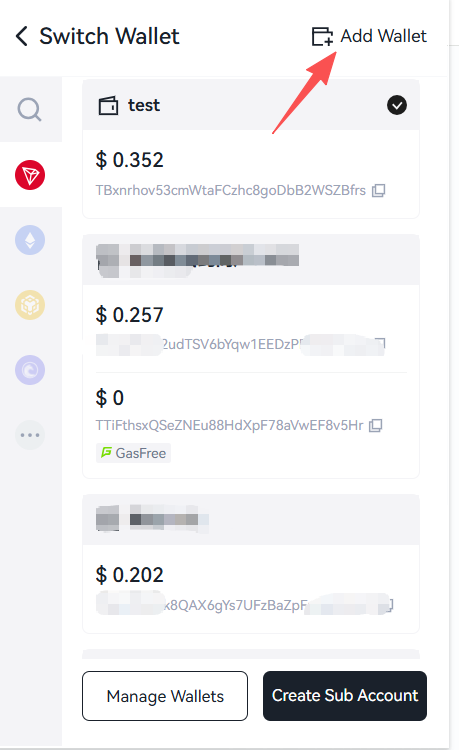
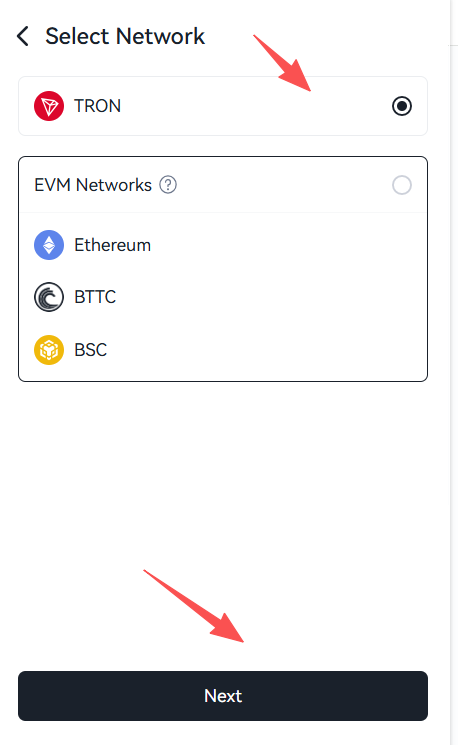
In TronLink, open the wallet-add flow.
-
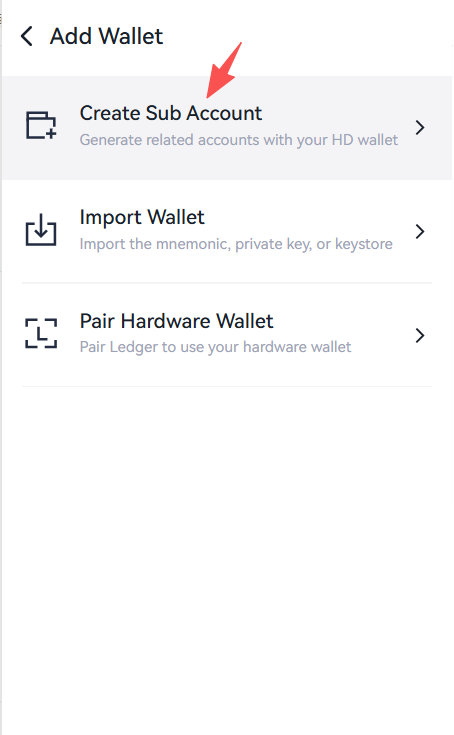
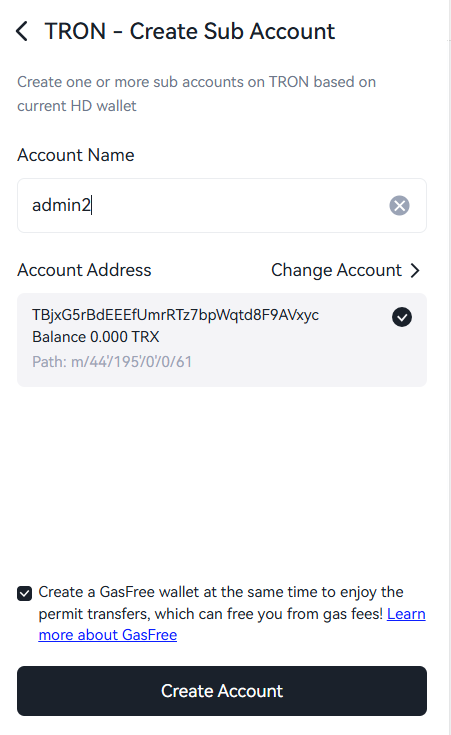
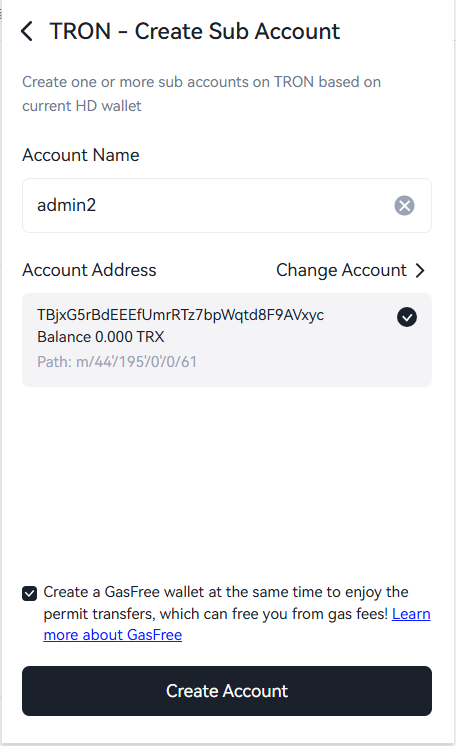
Choose "Create sub-account", select the TRON chain, and enter a sub-wallet name such as "Merchant A Multisig Admin 1".
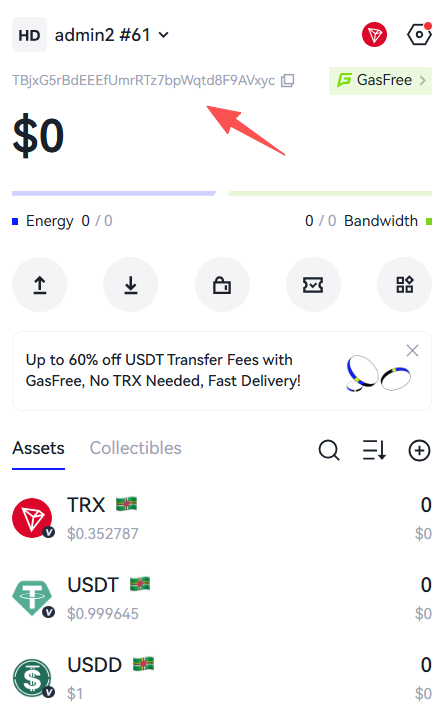
-
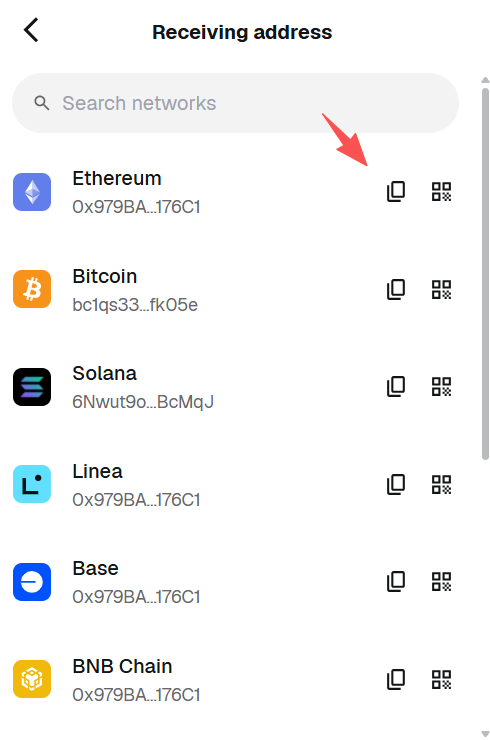
After creation, copy the sub-wallet address for later use.
-
Switch to multisig admin master wallets 2 and 3, and then to the treasurer master wallet, and derive 1 sub-wallet from each. Name them "Merchant A Multisig Admin 2/3" and "Merchant A Treasurer Wallet".
-
Once you have the 4 sub-wallet addresses, use them to register Merchant A. See the registration steps below.
-
After the merchant is successfully registered, switch to the corresponding sub-account and log in to the backend.
When registering Merchant B, derive a new sub-wallet from each of the 3 multisig admin master wallets and 1 treasurer master wallet, for example "Merchant B Multisig Admin 1 ~ 3" and "Merchant B Treasurer Wallet". Each merchant should use its own set of 4 sub-wallets, and the wallets must not be mixed.
Option 2: Create Sub-Wallets with MetaMask (EVM)
Reference: MetaMask Getting Started
The basic flow is as follows:
-
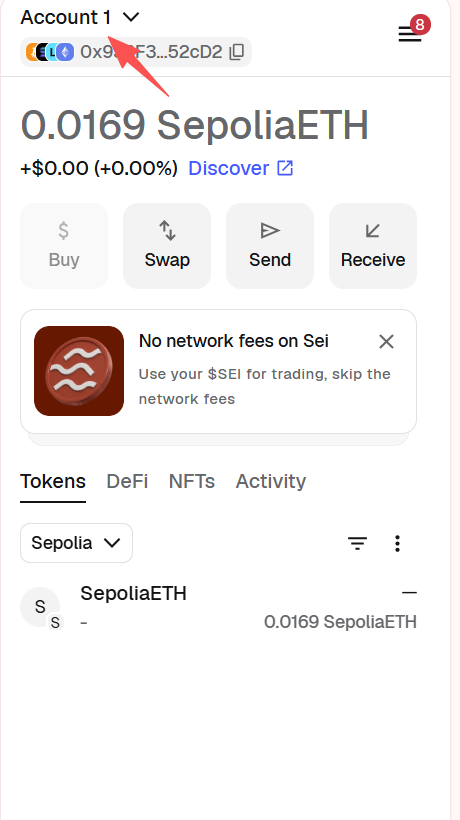
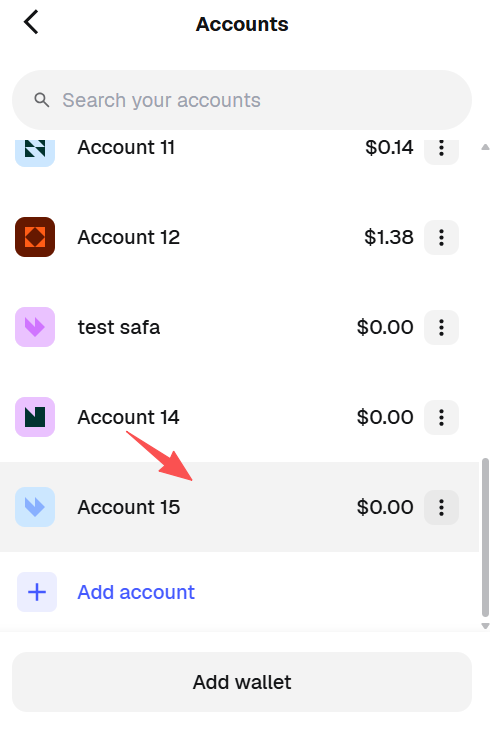
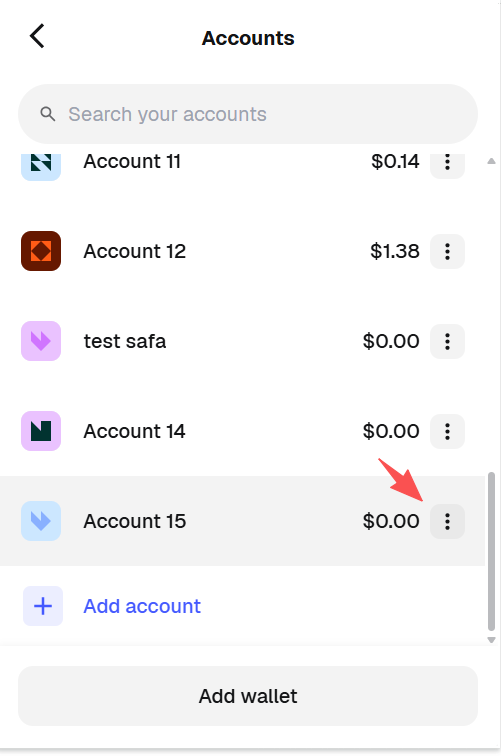
Open MetaMask and switch to multisig admin master wallet 1.
-
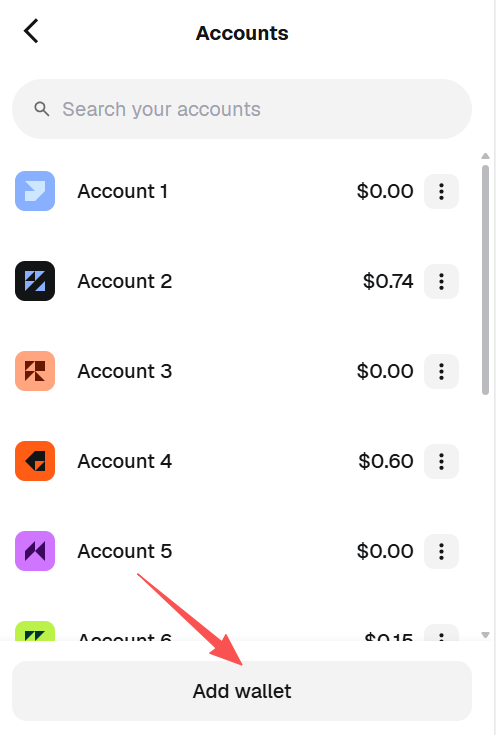
Click "Add account" or "Create new account" to derive one sub-account under master wallet 1.
-
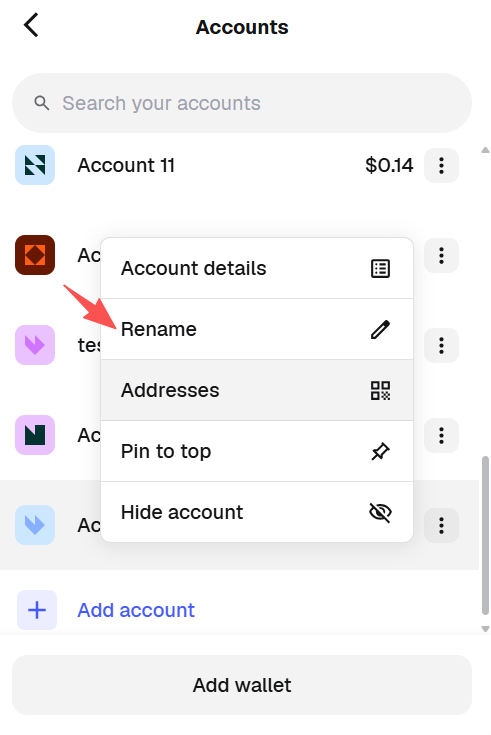
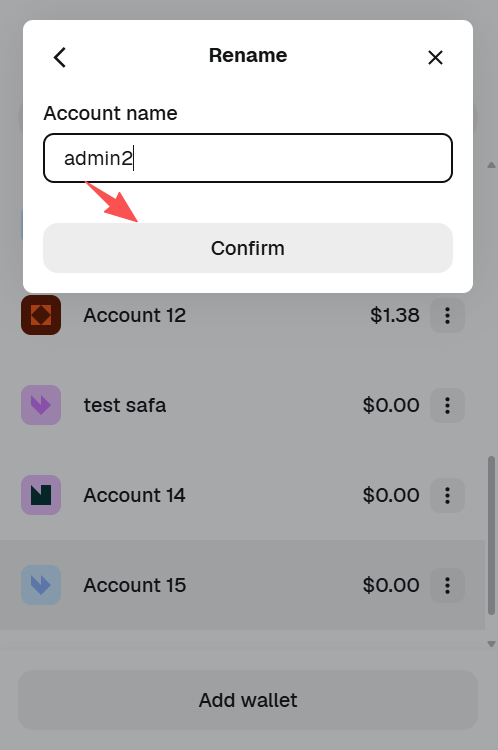
Rename the sub-account, for example "Merchant A Multisig Admin 1", and copy the address for later use.
-
Switch to multisig admin master wallets 2 and 3, and then to the treasurer master wallet, and derive 1 sub-account from each.
-
You will end up with 4 sub-account addresses, which are used to register the same merchant.
Use a consistent naming pattern such as "Merchant Name + Admin Number / Treasurer", for example "Merchant A Multisig Admin 1" and "Merchant A Treasurer Wallet". This makes troubleshooting and permission management much clearer.
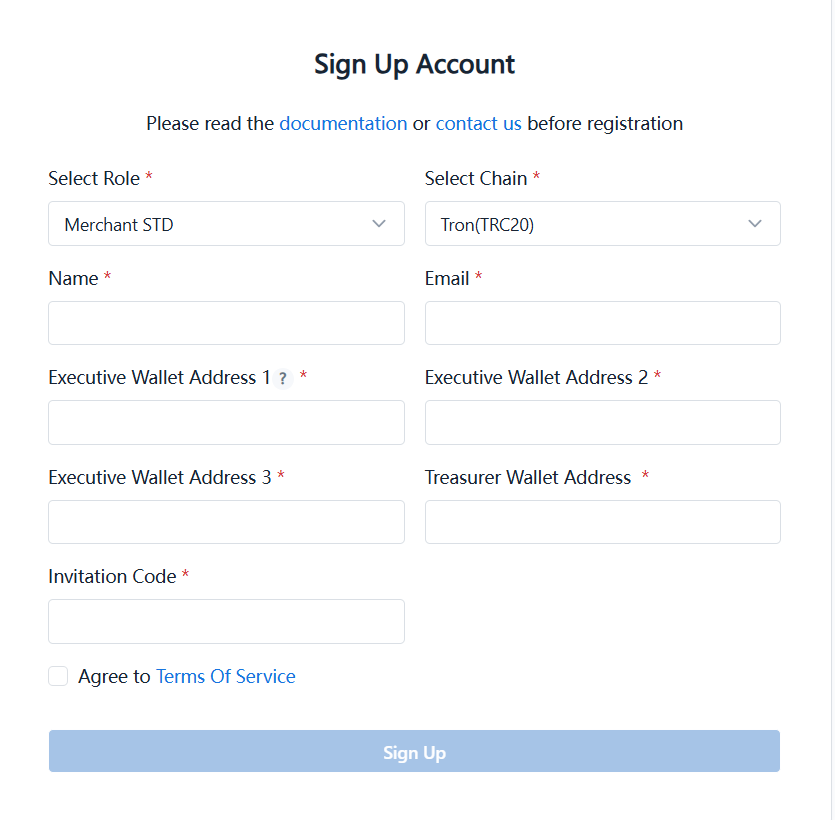
4. Register the Pay Protocol Admin Console
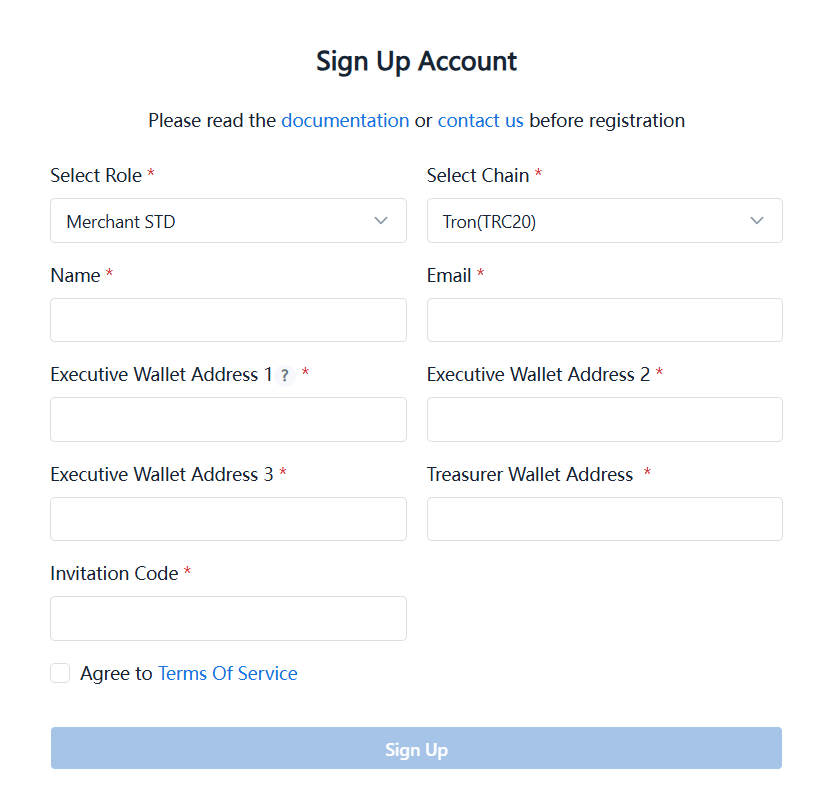
Use the 3 multisig admin sub-wallets and 1 treasurer sub-wallet created above to complete merchant registration at the sign-up page.
Sign-up page (sandbox): https://adm-sandbox.payprotocol.network/signUp
Registration Steps
-
Open the sign-up link.
-
Choose "Standard" as the organization type.
-
Select the blockchain, such as TRON or ETH.
-
Enter the registration code. Obtain it from the business team.
-
Fill in the 3 multisig admin addresses and 1 treasurer wallet address, which are the 4 sub-wallet addresses prepared above.
-
Review the information and click "Submit".
-
Wait for Pay Protocol to complete the approval.
The 3 multisig admin addresses and 1 treasurer wallet address of the same merchant must come from 4 different master-wallet derivation paths, so that roles from the same master wallet are not mistaken for independent identities.
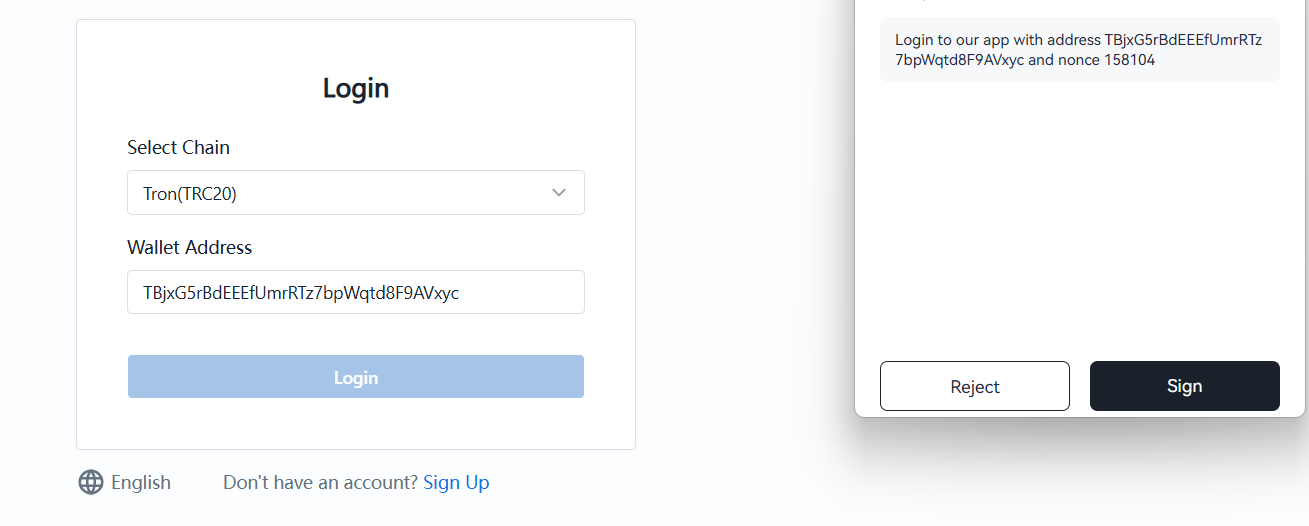
5. Log in to the Admin Console and Get the API Key
1. Log in to the Chain Admin Console
Use the admin wallet for the corresponding chain to log in.
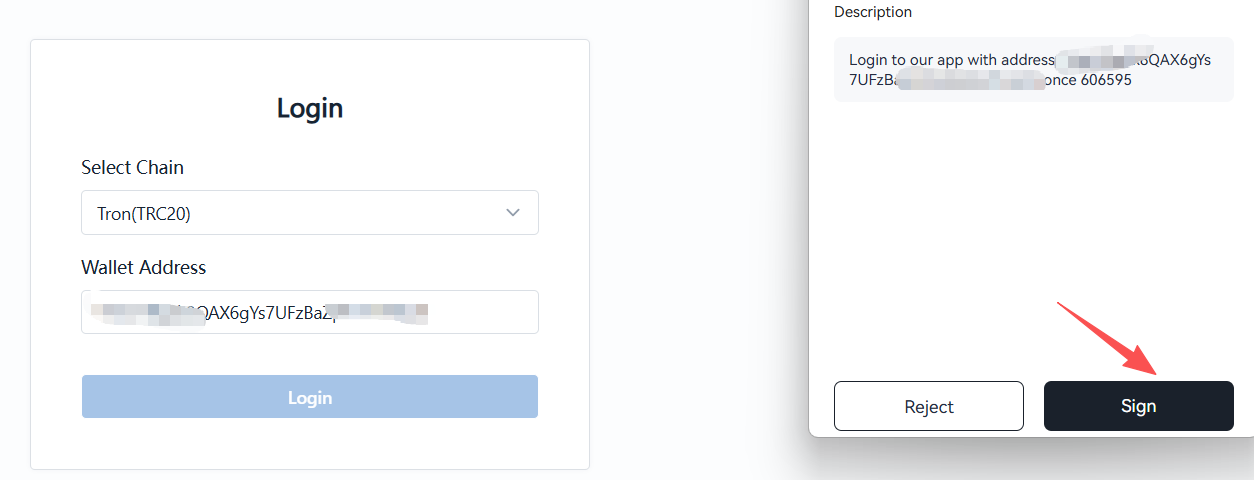
- If this is a TRON admin account, choose
Tronas the blockchain type - If this is an EVM admin account, choose the corresponding EVM network
2. Get the API Key
-
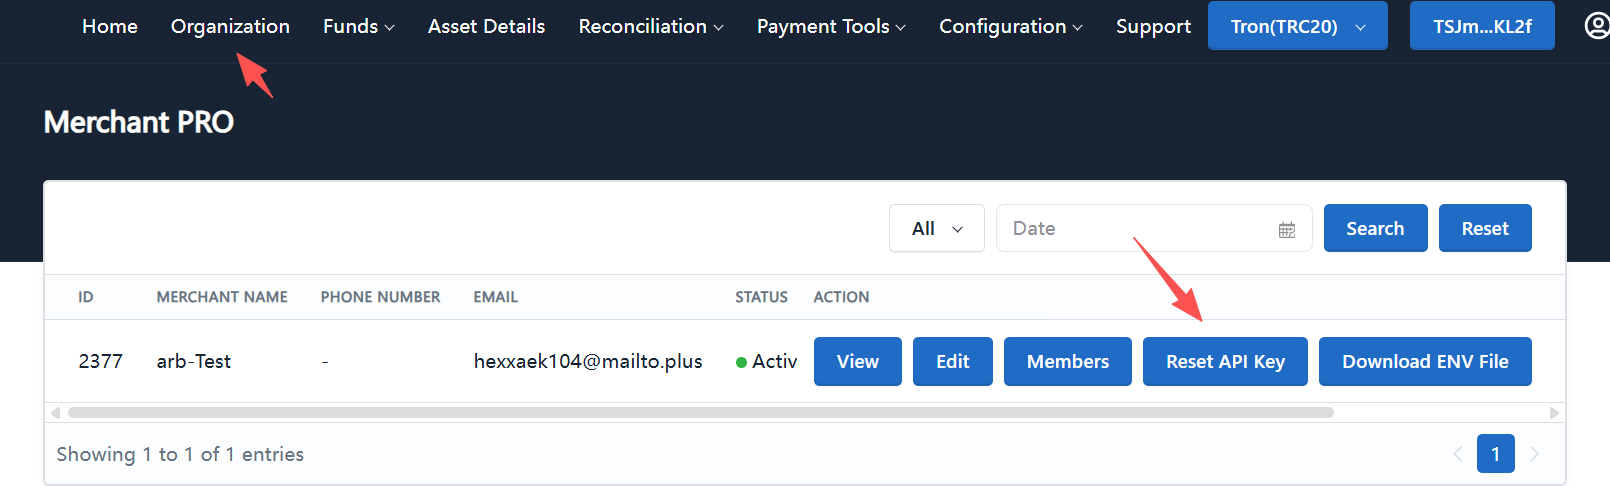
After logging in, go to the "Organization Info" page.
-
Click "Reset API Key".
-
Copy the API Key and API Secret.
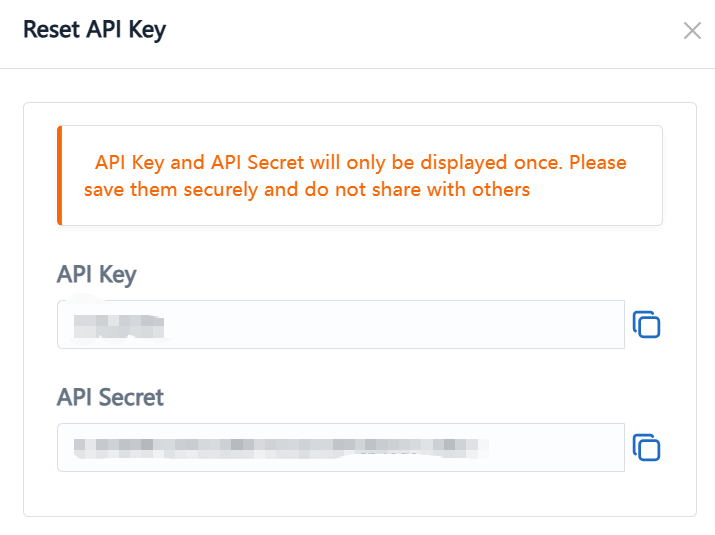
-
Provide the API Key / API Secret to the development team for subsequent system integration.
The API Secret is shown only once when it is reset. Save it immediately, otherwise you will need to reset it again.
6. Enable Additional Chains and Currencies
After the merchant is registered successfully, you can continue to enable more chains and currencies. See the following guides:
When configuring the initial maximum withdrawal amount, it is recommended to follow the data baseline of existing merchants so that multi-merchant configurations remain consistent.